
Install
ReelMarkr runs on Windows and macOS. One license covers both. The macOS build is in beta.
Windows
Section titled “Windows”
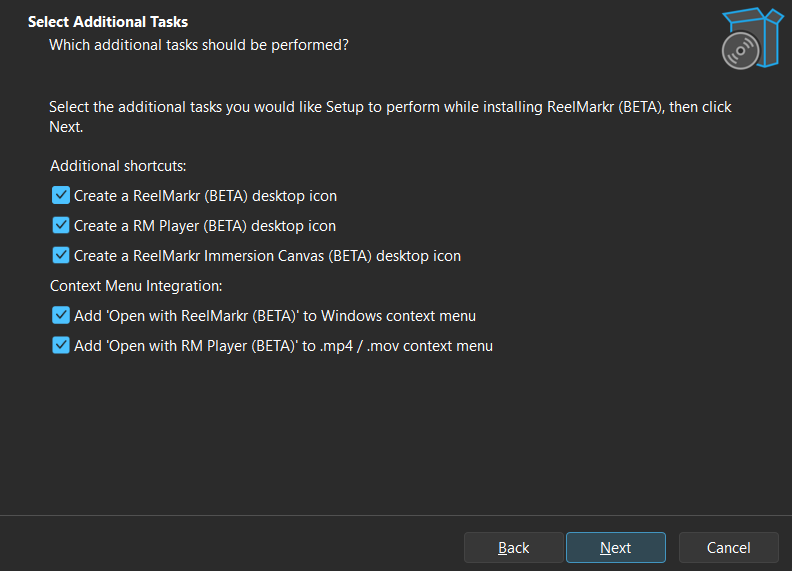
Download the installer from the ReelMarkr site and run it. It walks you through the license agreement and sets up Player, Media Browser, and the Immersion Canvas.
ReelMarkr is published by JL Tools LLC and signed with a valid code-signing certificate. A Microsoft SmartScreen warning means the app is still building reputation history. Verify the publisher in the Windows Security dialog.
Download the ReelMarkr Suite .dmg, open it, and drag the three apps into
Applications. The apps are Developer ID-signed and notarized by Apple.
There’s no installer wizard, so the first launch of each app shows the license agreement. Click Accept to continue to sign-in. Re-read the documents any time from Help ▸ License & Legal….
Shortcuts match Windows. See the macOS notes for the few keys that differ.
macOS permissions
Section titled “macOS permissions”The apps explain each capability before the system prompts appear. A folder-grant flow lets Player write its notes next to your footage. Microphone and speech access is scoped to the Immersion Canvas only. Player notes are stamped with their author.
Use it when: review notes need to sit beside the media on a shared edit drive.
What gets installed
Section titled “What gets installed”All three apps share one settings store and one license. Sign in once and every app is activated.
Updating
Section titled “Updating”Help ▸ Check for Updates… (Immersion Canvas: hamburger menu ▸ Help ▸ Check for Updates…). On Windows the update installs in place, with no manual uninstall. On macOS the updater downloads the build and mounts it for you to drag into Applications, and refuses a download built for the wrong platform.